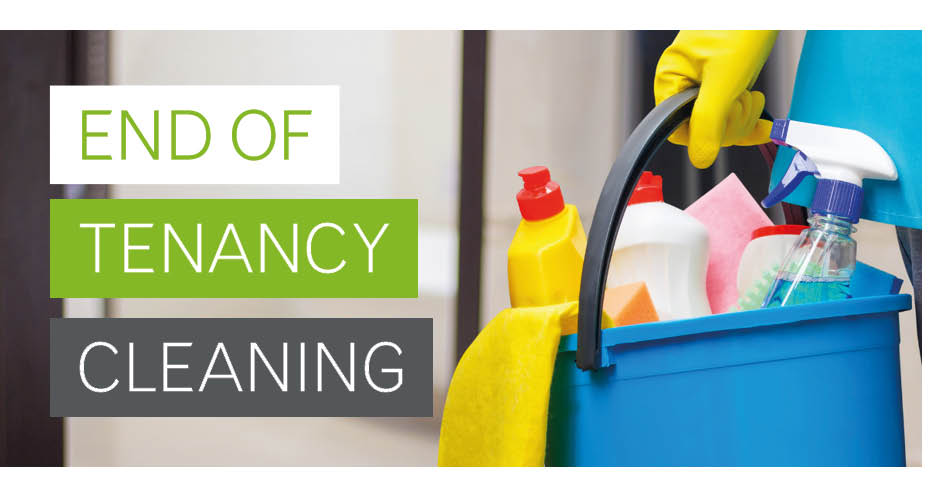
Introduction: Leaving a rental property at the end of your lease can be a bittersweet experience. While you’re excited about moving into a new place or transitioning to homeownership, there’s the not-so-pleasant task of ensuring your old residence is left in pristine condition. This is where end of tenancy cleaning comes into play. In this comprehensive guide, we’ll walk you through everything you need to know about end of tenancy cleaning, from its importance to practical tips for a spotless departure.
The Importance of End of Tenancy Cleaning:
Fulfilling Your Lease Agreement: Most lease agreements include a clause requiring tenants to return the property in the same condition as when they moved in. Failing to do so could result in a loss of your security deposit or legal disputes.
Positive Landlord Reference: A well-maintained property reflects positively on you as a tenant. This can lead to a glowing reference from your landlord, which can be invaluable when applying for a new rental.
A Clean Slate for the Next Tenant: Leaving the property clean and tidy ensures that the next tenant can move in without any hassle or extra cleaning expenses.
Getting Started:
Review Your Lease Agreement: Before you begin, carefully review your lease agreement to understand the specific cleaning requirements and expectations set by your landlord.
Gather Supplies: Collect all the cleaning supplies and equipment you’ll need, including cleaning agents, scrub brushes, mops, vacuum cleaners, and trash bags.
The Cleaning Checklist:
Here’s a comprehensive checklist to guide your end of tenancy cleaning:
Kitchen:
Clean all appliances, including the refrigerator, oven, and dishwasher.
Wipe down countertops, cabinets, and backsplashes.
Scrub sinks and faucets.
Remove food debris from the microwave.
Sweep and mop the floor.
Bathroom:
Clean the toilet, bathtub, shower, and sink.
Scrub tiles and grout.
Wipe down mirrors and countertops.
Remove soap scum and limescale.
Sweep and mop the floor.
Living Areas:
Dust all surfaces, including shelves, baseboards, and light fixtures.
Vacuum and/or steam clean carpets and rugs.
Clean windows and window sills.
Wash curtains or blinds if necessary.
Sweep and mop hard floors.
Bedrooms:
Vacuum carpets and rugs.
Dust and clean all surfaces, including closets.
Wash or change bed linens.
Clean windows and window sills.
Sweep and mop hard floors.
General:
Remove cobwebs from ceilings and corners.
Clean light switches and doorknobs.
Empty and clean all trash bins.
Ensure all appliances and utilities are turned off.
Final Steps:
Photographic Evidence: Take photos of the cleaned property as proof of its condition when you leave.
Repairs and Maintenance: Address any damage or maintenance issues, such as holes in the walls or broken fixtures, according to your lease agreement.
Professional Help: If the task seems overwhelming or you’re unsure of your cleaning abilities, consider hiring professional end of tenancy cleaning services. They have the expertise and equipment to ensure a thorough clean.
Conclusion: End of tenancy cleaning is a crucial step in maintaining a positive rental history and leaving on good terms with your landlord. By following this guide and being meticulous in your cleaning efforts, you’ll increase the chances of a seamless transition to your new home while safeguarding your deposit and your reputation as a responsible tenant. Remember, a clean departure is not just a courtesy; it’s a commitment to the next chapter in your life.